YOU WILL NEED
- 1kg freshly used coffee grounds
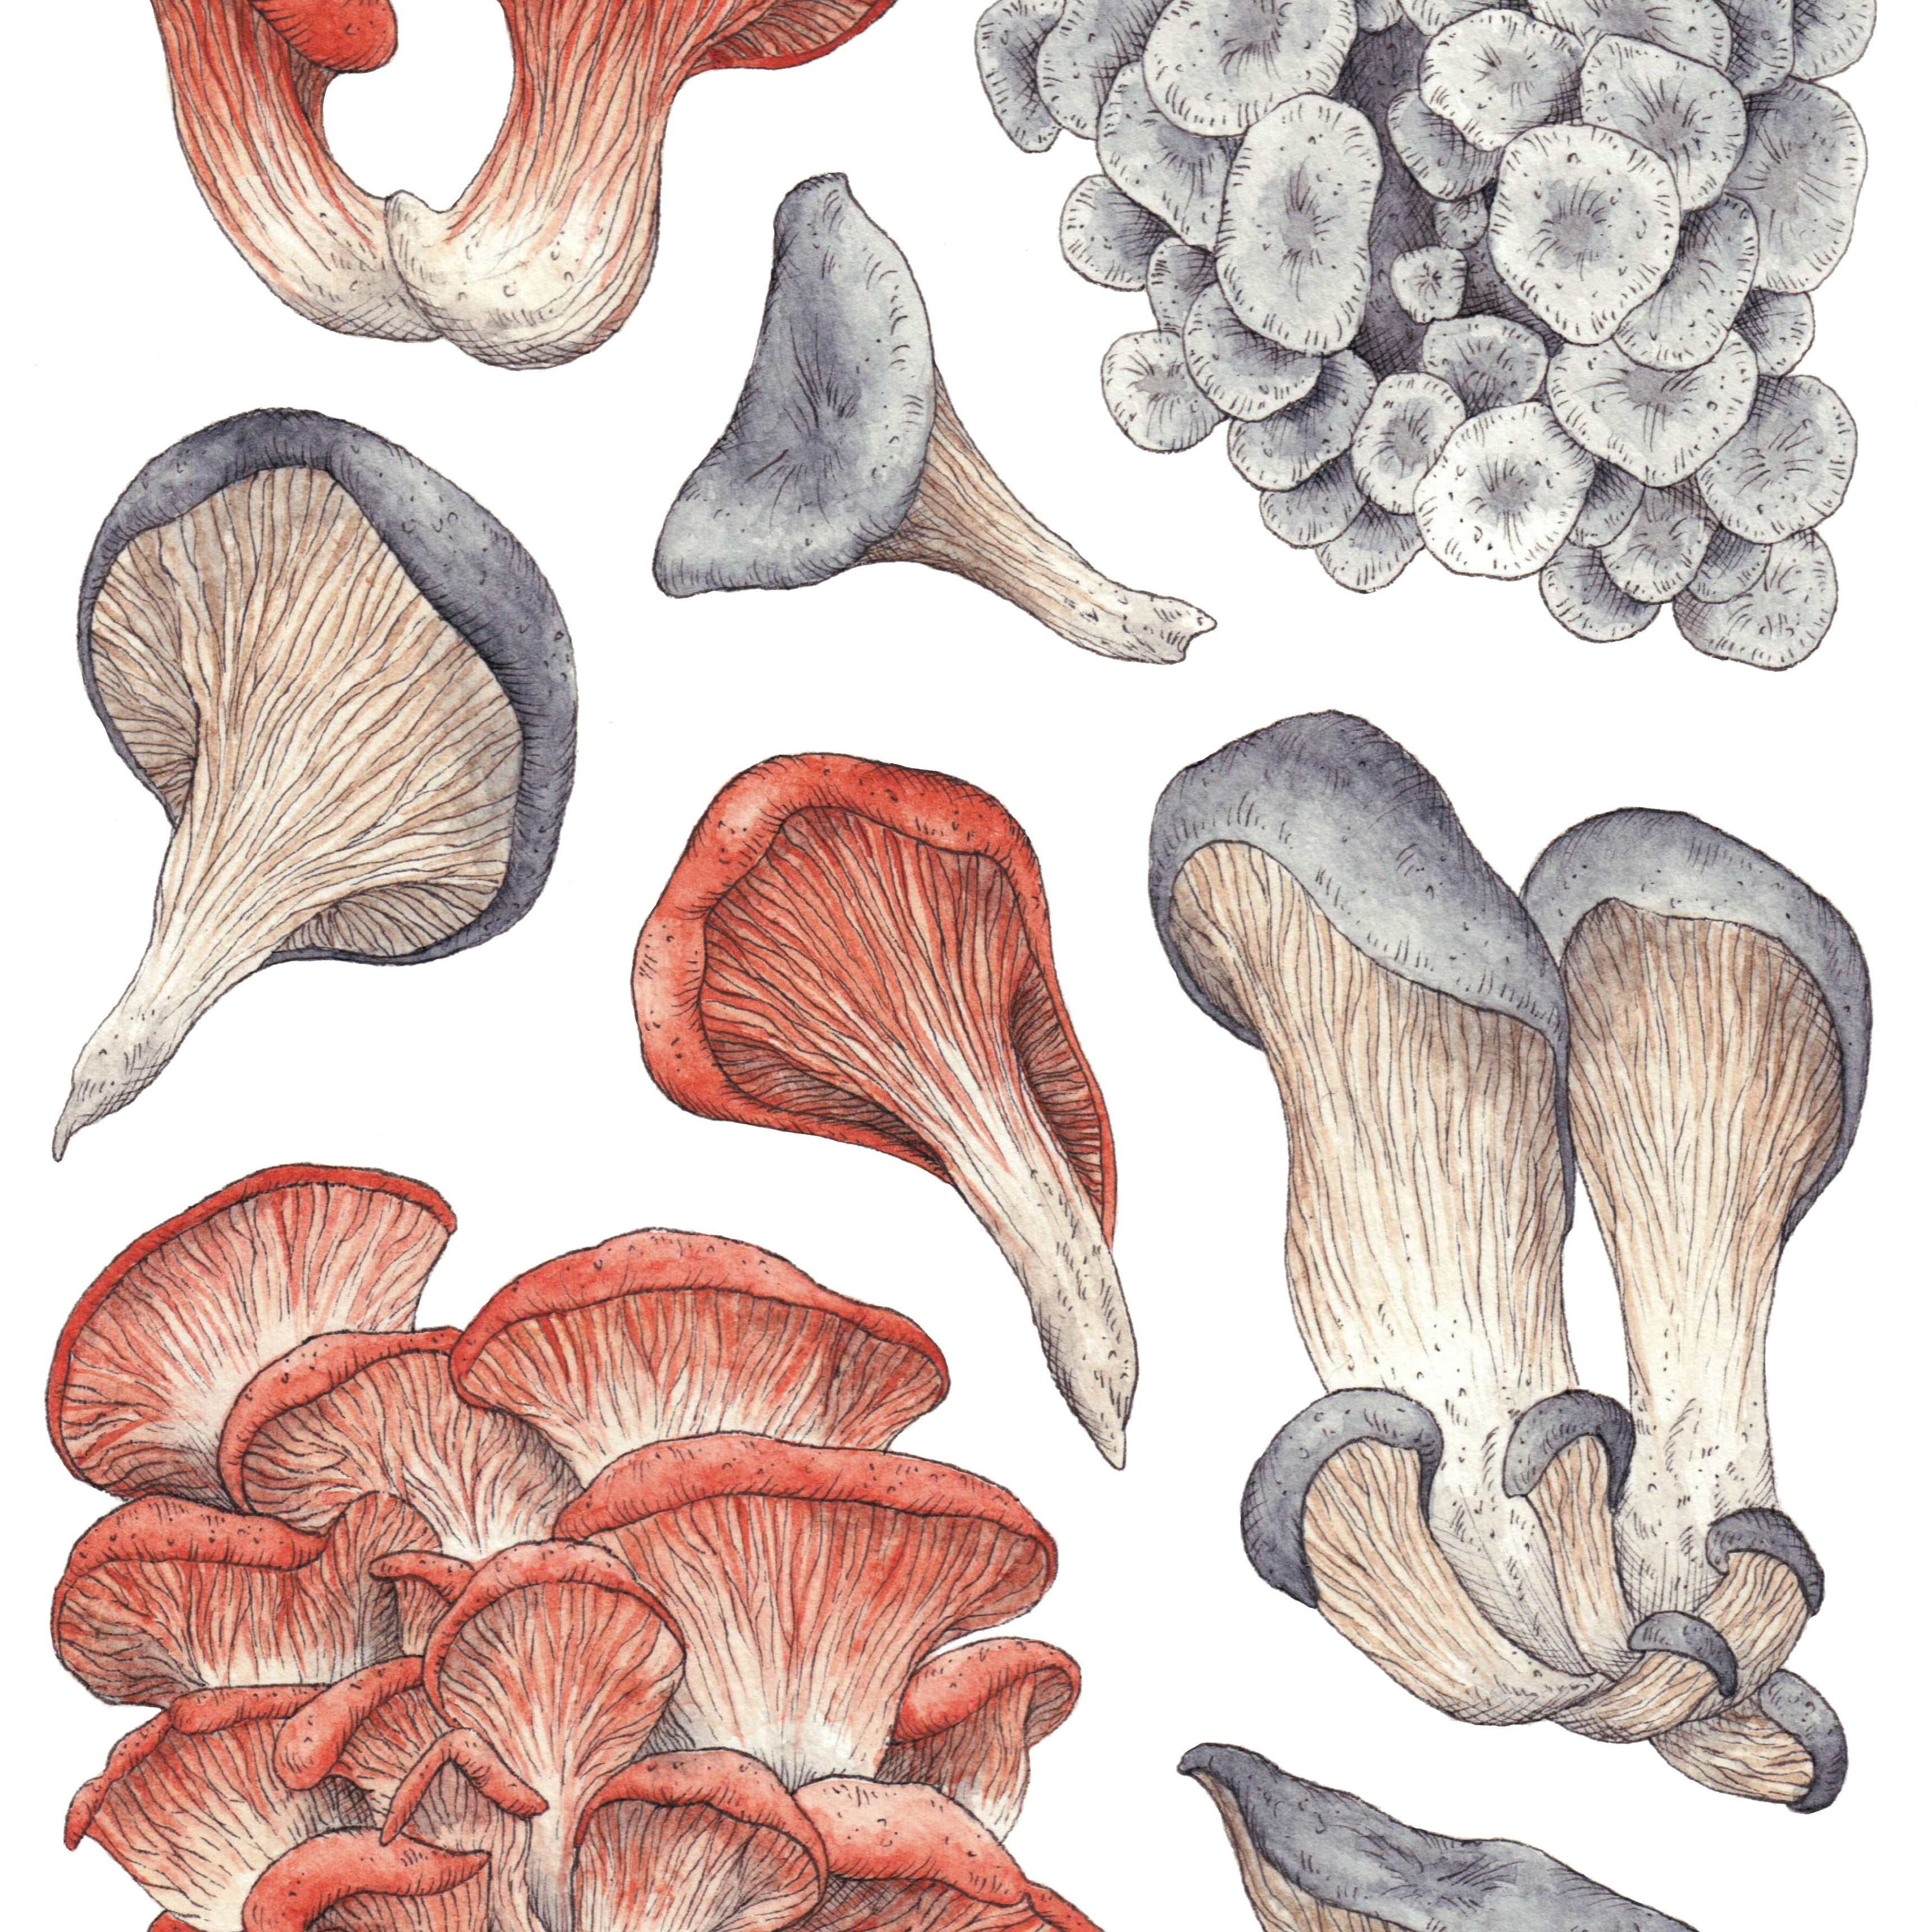
- 100g oyster mushroom grain spawn (source online, including shop.grocycle.com or mushroombox.co.uk)
- Bucket or box to mix everything up in
- Zip-lock or freezer bag with 3-litre capacity
- Spray bottle
1 Collect your coffee grounds
The coffee grounds need to be fresh to prevent mould, so use within 24 hours of brewing. Coffee grounds from espresso machines are best, as filter and cafetière
grounds are often too wet. You can either ask your local café to save theirs for you (maybe leave a bucket or bag with them), or save home grounds up by freezing them until you have enough.
2 Inoculate with oyster mushroom spawn
Weigh out 1kg of freshly spent coffee grounds and place in the bucket or box. Add the oyster mushroom spawn. Mix together well, then empty into the zip-lock bag or freezer bag. Make sure there is a little space at the top of the bag, then seal. Poke 4 small, evenly spaced holes (about 0.5cm) around the front of the bag to allow some airflow.
3 Incubate the growing bag
Leave the bag in a dark place that’s 20–24°C. Check the bag every few days to see if the white mycelium (a network of fungal fibres) has started to grow across the coffee. After 2–3 weeks the bag should be fully colonised and bright white.
4 Fruit the mushrooms
Move your now-colonised bag to a shaded spot with some indirect light (a kitchen worktop or north-facing windowsill is ideal). Spray the holes with water every day using a spray bottle. Mushrooms will start to grow in around 5–10 days. Keep spraying the holes with water for another 5–7 days. The mushrooms will double in size each day!
5 Harvest!
When the top of the mushroom caps begin to flatten out it’s time to pick. Twist the cluster off, or cut with a knife. Cook them and enjoy the satisfaction of eating mushrooms grown from waste coffee.
6 Grow a second crop
Two days after harvesting, submerge the bag in water overnight to rehydrate the grounds, then return the bag to its shaded spot. Spray the holes with water daily to encourage a second crop to grow. At the end of the second growing cycle, after harvesting the mushrooms, you can add the now-composted grounds to your garden or potted plants to enrich the soil. Be sure to wash and keep the zip-lock bag for future grows!
––––––––––––––––––––––––––––––––––––––––––––––––––––––––––––––––––––––––
Adam Sayner is co-founder of GroCycle. For more information about growing mushrooms and to buy specialist kits, see grocycle.com